What’s the Best Fit for a Plus-Size Mother of the Bride Dress?
The best plus-size mother of the bride dress is the one that celebrates your shape, supports you from ceremony to last dance, and aligns with the couple’s vision. It’s not about hiding anything—it’s about balance,
proportion, and comfort, so you feel poised and present for every hug, photo, and speech.Below you’ll find a comprehensive guide to choosing the right fit: from silhouette and fabric to bust support, sleeves, shapewear, and alterations.
We’ll map body shapes to silhouettes, troubleshoot common fit challenges (tummy, bust, arms), and give you a step-by-step fitting plan, plus practical tips for different venues and seasons.
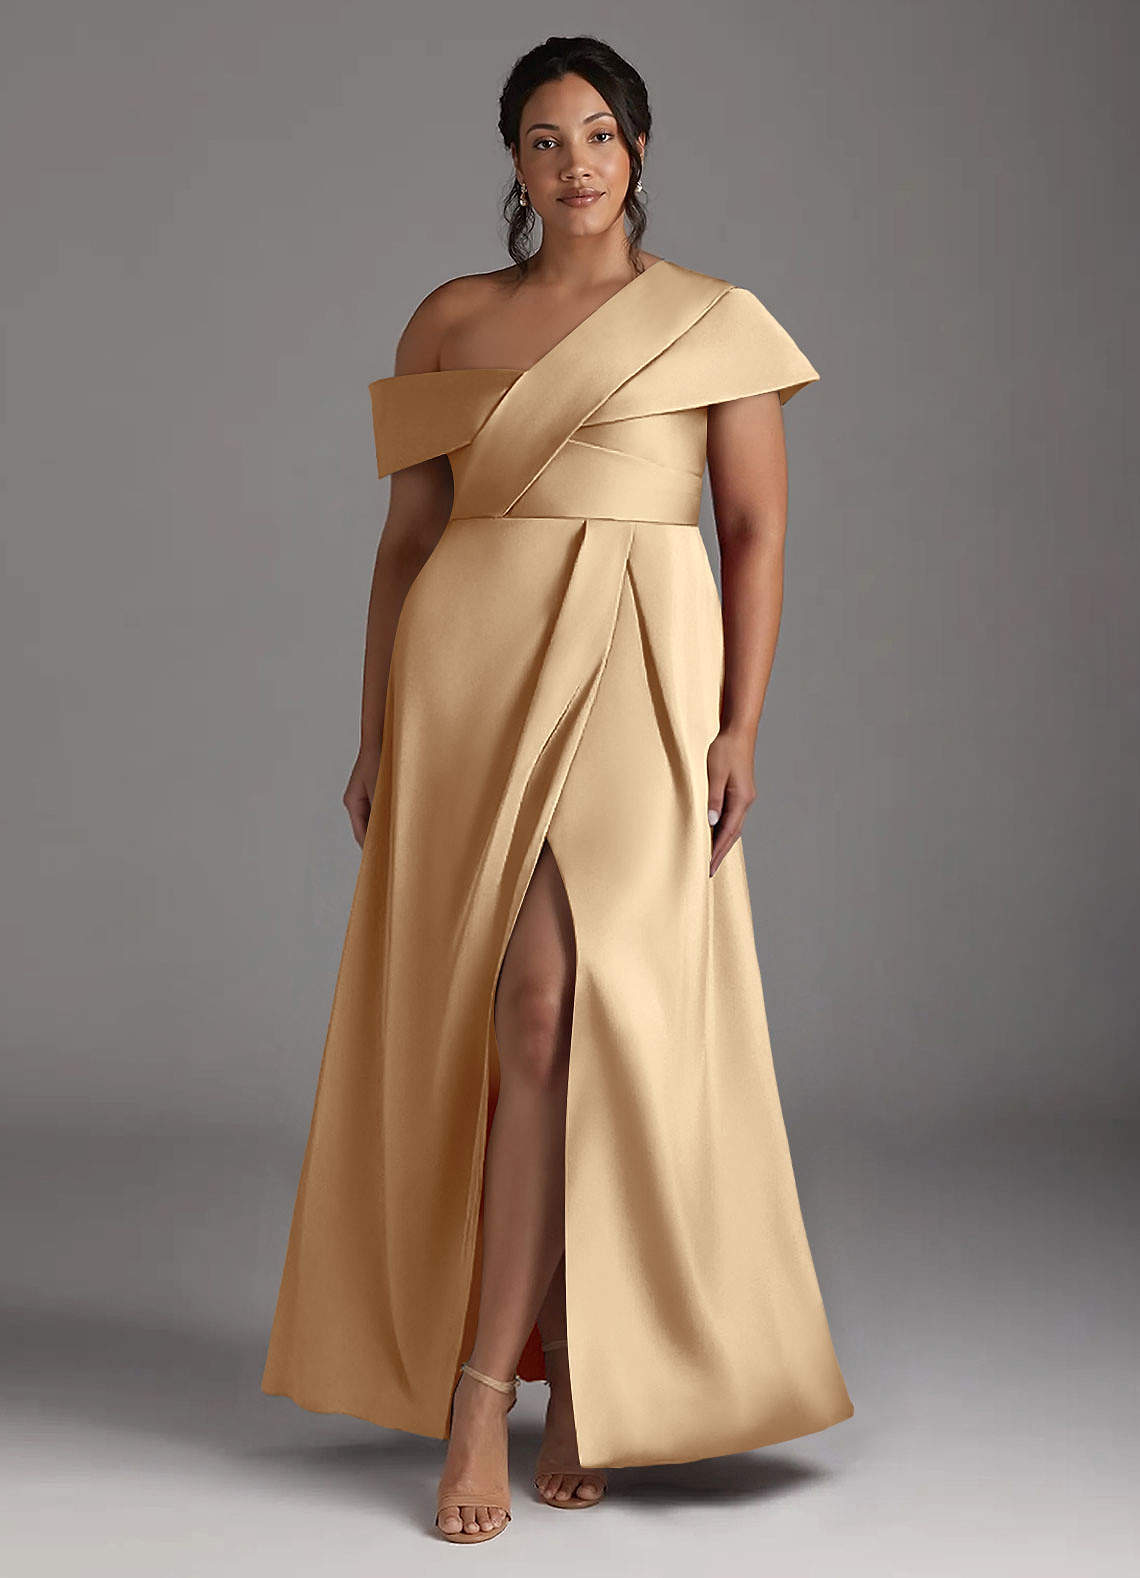
For most plus-size moms of the bride, the most universally flattering fits are A-line and structured fit-and-flare dresses with defined waistlines, V or square necklines, and sleeves or elegant toppers for confident coverage.
Choose mid-weight, drapey fabrics (crepe, satin-back crepe, quality chiffon) that skim—not cling. Set a train-free or mini-sweep hem for easy movement, add sewn-in bust support, and schedule two fittings. Finish with stable heels, a light wrap, and one standout accessory for balanced polish.
Start with Shape & Proportion (Your Fit Foundation)
Think beyond size numbers. Fit is about balancing proportions so everything looks intentional. Use this quick framework to identify the silhouettes that work with your shape and the wedding setting.
Common Plus-Size Body Shapes & Best Silhouettes
| Body Focus / Shape | Flattering Silhouettes | Why It Works | Key Details to Include | Details to Use Sparingly |
| Hourglass (curvy bust & hips, defined waist) | Fit-and-flare, trumpet, tailored wrap, peplum waist | Accentuates waist; skims over curves | Structured bodice, V or sweetheart neck, waist seaming, subtle ruching | Boxy shifts, heavy high-neck + no waist definition |
| Pear (fuller hips/thighs, narrower shoulders) | A-line, fit-and-flare, empire with structure | Balances hips; highlights waist and neckline | Off-shoulder/portrait or square necks, shoulder detail, defined waist | Clingy bias cuts, heavy mermaid without support |
| Apple (full midsection, slimmer legs) | Empire with structure, soft A-line, column with shaping | Skims tummy; elongates torso | V or surplice neck, strategic ruching, higher waist seam, light shaping | Ultra-fitted midsections; shiny tight satin over tummy |
| Rectangle (little waist definition) | Sheath with darts, A-line with belt/peplum | Creates curves, elongates silhouette | Waist seaming, sash/belt, sculpted shoulders | Dropped waist, shapeless tunics |
| Inverted Triangle (broader shoulders/bust) | A-line, fit-and-flare | Adds lower-body balance | V-necklines, A-line skirt, minimal shoulder pads | High neck + cap sleeves that broaden shoulders |
Pro tip: If you’re between two silhouettes, test both in person. Bring your event shoes and wear the same smooth undergarments each time so you’re comparing fit—not fighting different bra heights or hem differences.
Silhouette Deep Dive (What Each Fit Does for You)

- A-Line (knee, midi, or floor-length)
- Why it’s a favorite: Nips the waist and floats over hips/stomach without excess volume.
- Best for: Nearly all shapes—especially pear and apple.
- Styling notes: Add a defined waistband, side seam pockets for comfort, and a mini-sweep hem if you want a hint of formality without a long train.
- Fit-and-Flare / Soft A-Line
- Why: Offers curve and support through the bodice, gentle flare for balance.
- Best for: Hourglass, pear, curvy figures who want sculpt + ease.
- Details: Look for boned bodices, wide straps, wrap or V-neck, and a slit for mobility.
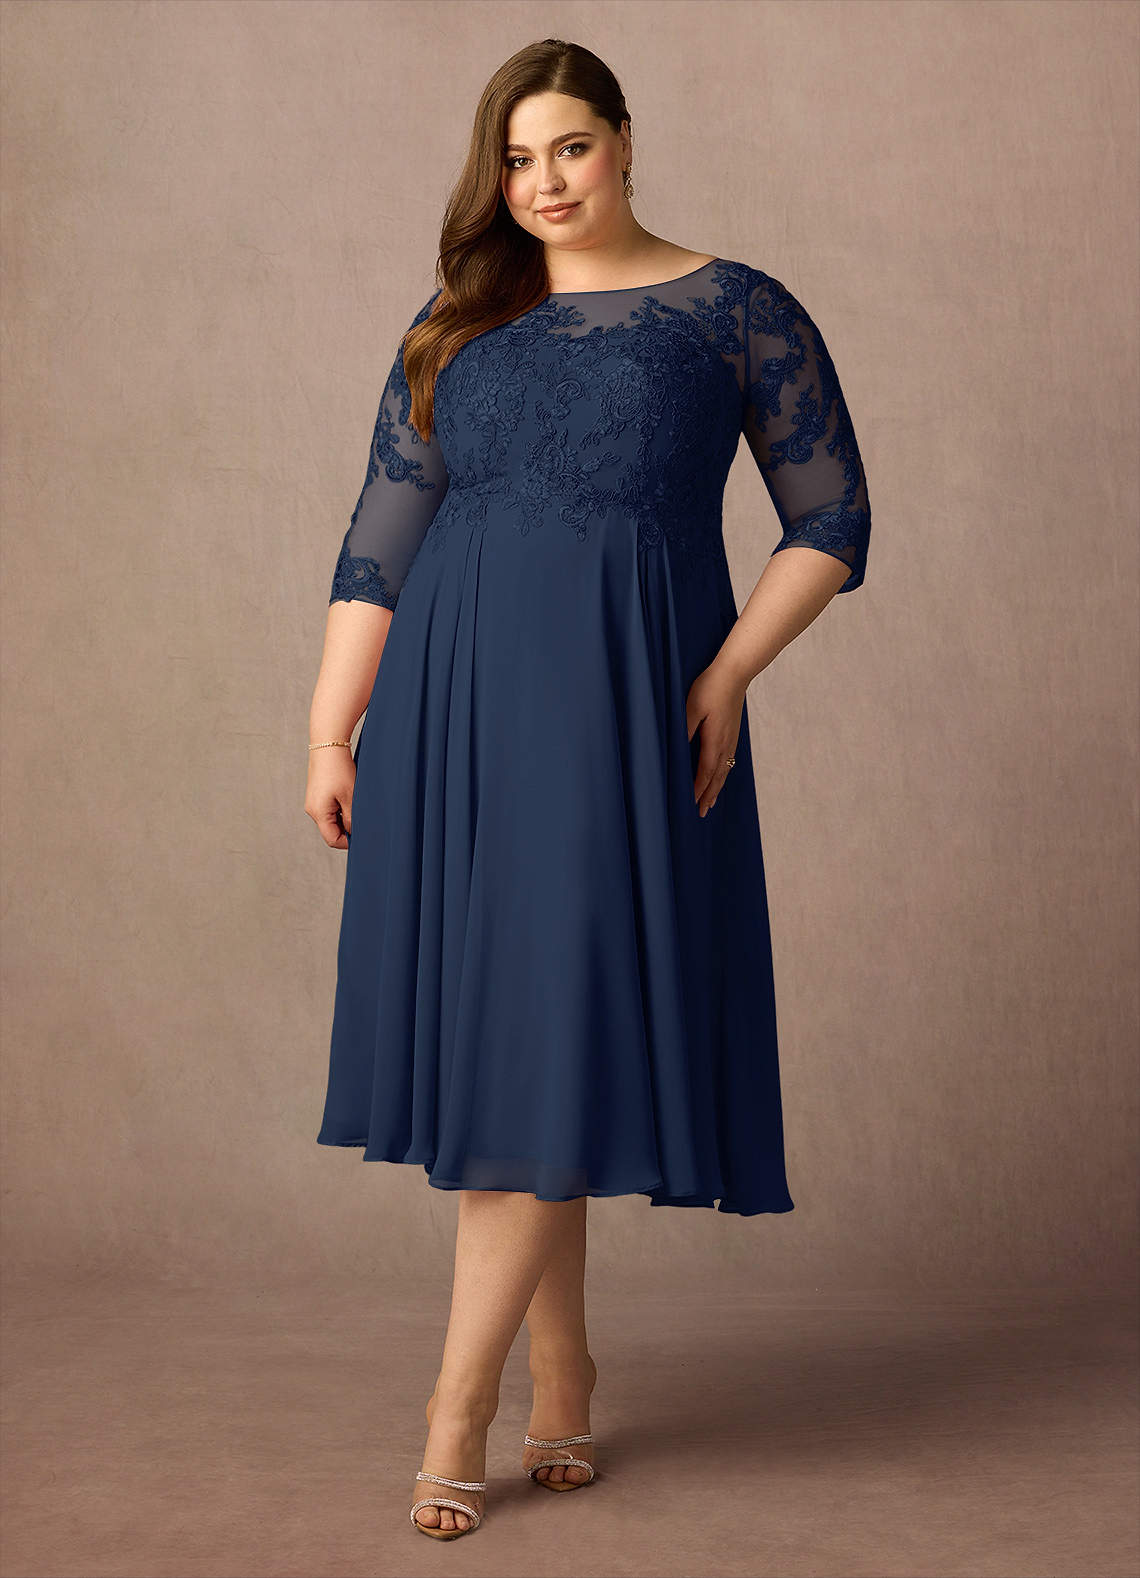
- Empire Waist (structured)
- Why: Shifts focus upward; comfortable across midsection; great for seated comfort.
- Best for: Apple shapes, midsection emphasis, petite plus.
- Details: Ensure the empire seam sits just under the bust (not mid-bust); choose firm cups so the line stays crisp.
- Sheath / Column (with shaping)
- Why: A polished, modern line that’s surprisingly flattering when tailored.
- Best for: Rectangle, tall, or those who dislike volume.
- Details: Mid-weight stretch crepe, darts, and a back vent or side slit improve movement.
- Trumpet / Subtle Mermaid
- Why: Glamorous option for defined curves without extreme constriction.
- forBest : Hourglass willing to wear structured shapewear and commit to fittings.
- Details: Prioritize high-quality boning, generous seam allowances for tweaks, and a conservative flare start (mid-thigh, not knee) for comfort.
Fabric: Your Secret Fit Ally
Fabric choice can make or break the fit. Aim for structure + movement to flatter curves and keep you comfortable.
| Fabric | Feel & Behavior | Pros for Plus-Size MOB | Considerations |
| Stretch Crepe | Matte, flexible, holds shape | Smooths without clinging; breathable; great for sheaths/A-lines | Choose medium weight for best drape & structure |
| Satin-Back Crepe | Soft face, gentle sheen | Elevated look without glare; forgiving on curves | Steam from inside to avoid shine |
| Chiffon | Light, floaty | Airflow; ideal for layered skirts and sleeves | Needs quality lining to prevent cling/transparency |
| Georgette | Airy with subtle grit | Drape with grip—less clingy in wind | Pair with supportive underlayers |
| Mikado | Structured, polished | Holds shape; waist definition; brilliant for formality | Less breathable; best in cooler temps |
| Lace (over crepe or satin) | Textured, feminine | Texture softens lines; adds interest | Avoid all-over heavy lace if heat is a factor |
| Jersey/Scuba (heavy knit) | Stretchy, smooth | Comfort + structure; easy travel | Ensure thick enough to avoid cling or seam show-through |
Rule of Thumb: Look for structure + fluidity. Fabrics that support (crepe, mikado) or float (chiffon, georgette) typically flatter more than ultra-thin jerseys or high-gloss satins.
Necklines That Lift & Balance
Necklines shape your portrait area—key to confident photos.
- V-Neck / Surplice (wrap):
- Lengthens the neck, balances fuller busts/shoulders, and draws eyes upward.
- Works with most silhouettes; pair with supportive bras or sewn-in cups.
- Square Neck:
- Sharp, architectural, and extremely flattering on plus-size figures.
- Provides coverage with a clean frame; ideal for modern city or evening settings.
- Portrait / Off-the-Shoulder (with structure):
- Highlights collarbones and face while balancing hips.
- Ensure snug-but-comfortable arm mobility; add hidden elastic for toasting and hugs.
- Scoop Neck:
- Softens the décolletage and pairs well with statement necklaces.
- Keep scoop height moderate for comfortable coverage.
- Bateau / High Illusion:
- Elegant for formal or religious venues; best with tailored bodice.
- Often skip a necklace; add a bracelet, ring, or refined earrings.
Neckline Fit Tip: During fittings, raise your arms, hug, and sit. If fabric pulls or digs at the underarm, ask for a micro-gusset or slightly wider straps for better support.
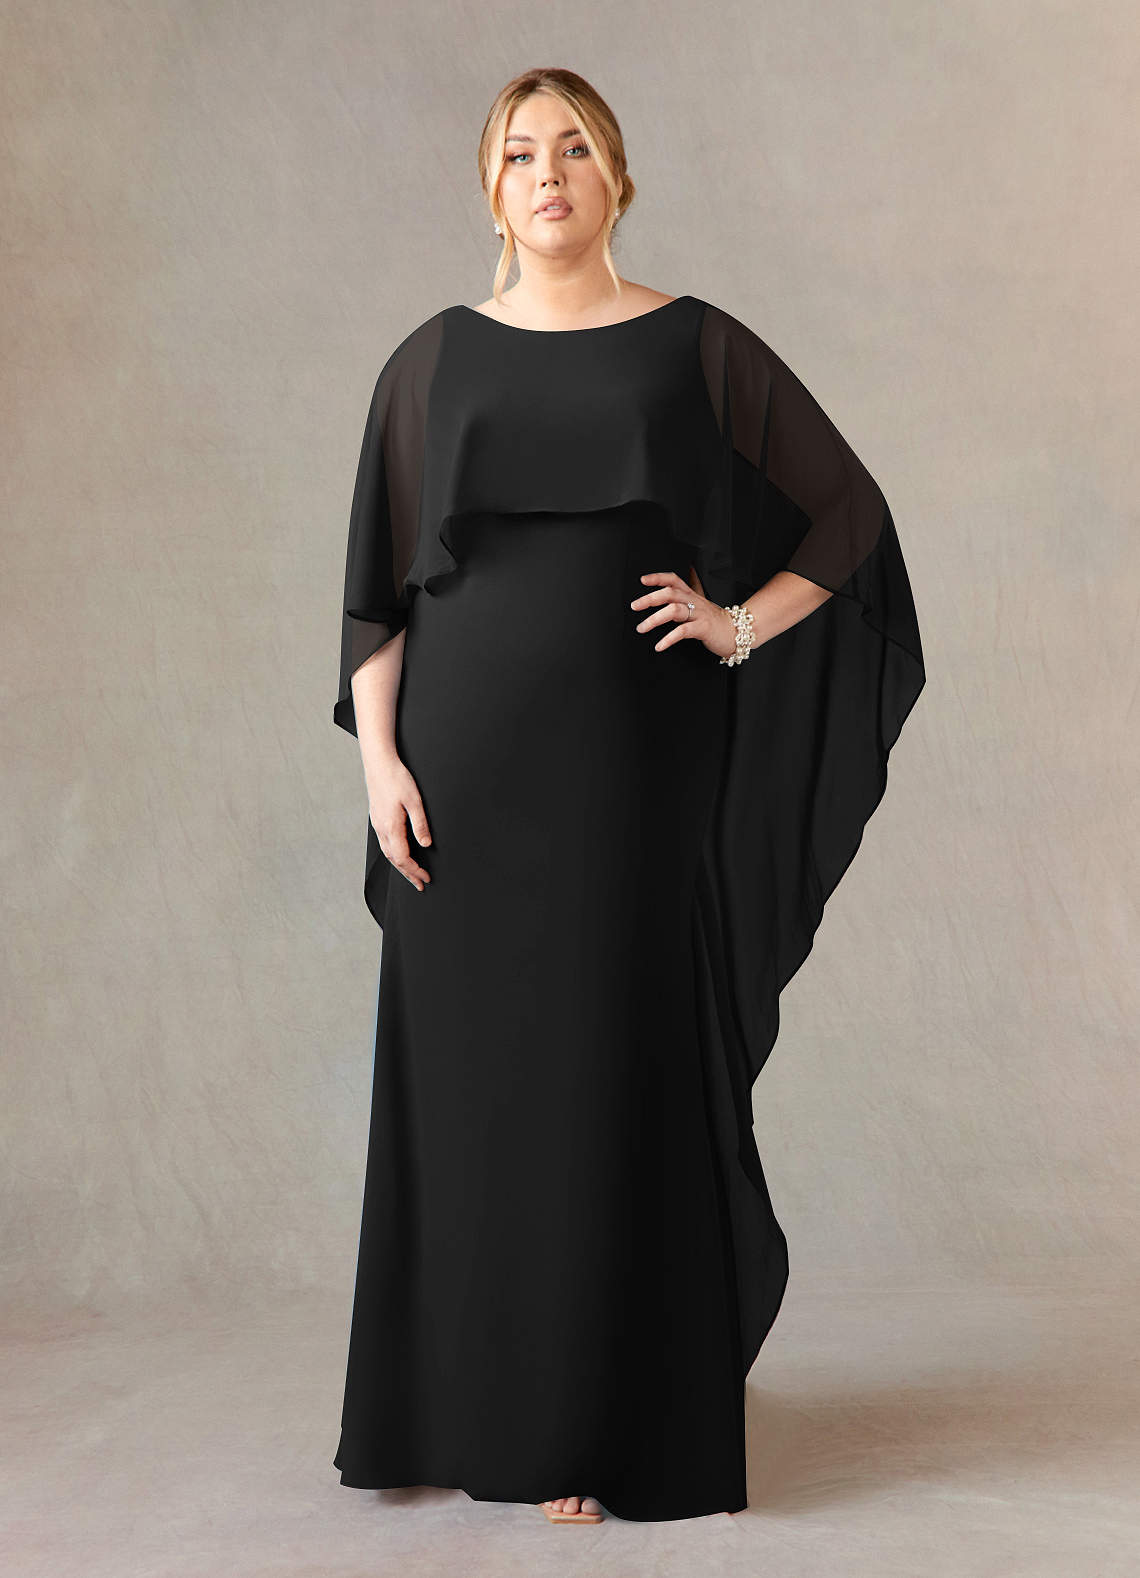
Sleeves & Toppers: Coverage Without Compromise
Sleeves and top layers can add comfort and polish—without hiding you.
- Flutter Sleeves: Breezy, soft, and forgiving; perfect for warm weather.
- Elbow or ¾ Sleeves: Classic coverage without bulk; add a tiny elastic panel for mobility.
- Long Sheer Sleeves: Ideal for elegance or cooler evenings; choose quality illusion tulle that matches your skin tone.
- Detachable Sleeves: Ceremony coverage that you can remove for dancing—practical and chic.
- Cropped Jackets & Capelets: A tailored crepe bolero or an organza/chiffon capelet elevates your look and offers coverage.
- Beware of: Tight cap sleeves (can widen shoulders) and stiff fabrics at the bicep.
Shapewear & Support (Built-In vs. Add-On)
Great support is comfort, not punishment. The goal is a smooth foundation—not a squeeze.
- Sewn-in cups + boning
- Excellent for V-neck, square, or off-shoulder bodices.
- Reduces bra lines and adds structure without extra layers.
- Longline bras / bodysuits
- Create a smooth torso; helpful for midsections or when using a sheath/fit-and-flare.
- Ensure your bra band sits flat, doesn’t roll, and aligns with your chosen neckline.
- High-waist shorts or briefs
- Gentle shaping at tummy/hip; choose breathable styles.
- Avoid heavy compression in heat; prioritize comfort for a long day.
- Shapewear test-drive
- Wear with your dress during fittings: sit, hug, walk, take a few stairs, and raise arms.
- If anything digs or rolls, size up or switch styles. Comfort = confidence.
Measuring & Fitting: Step-by-Step
A superb fit begins before you even order.
1) Get measured professionally (ideally 8–10 months out):
- Bust: fullest part, tape parallel to the floor.
- Waist: smallest part of torso (often above belly button).
- Hips: fullest part of seat.
- Hollow-to-hem: from hollow of throat to desired hem (wear event shoes).
- Bicep: fullest part of upper arm.
- Shoulder-to-waist, waist-to-hem: for torso proportion.
2) Choose the size by your largest measurement.
- It’s easier to tailor down than let out. Most gowns have limited seam allowance.
3) Plan for two fittings (sometimes three).
- Fitting #1 (6–10 weeks out): confirm bodice support, set hem with final shoes, check sleeve comfort.
- Fitting #2 (3–5 weeks out): refine waist/hip, adjust sleeves/armholes, test mobility & comfort.
- Optional Fitting #3 (1–2 weeks out): final check + steaming plan.
4) Hem to a “kiss.”
- In your event shoes, the hem should just graze the floor—no puddling or step-on risk.
- Outdoors? Consider tea-length or sweep for lawns or gravel.
Fit Troubleshooter (Common Concerns & Easy Fixes)
| Fit Issue | What It Means | Tailoring/Styling Fix | Bonus Tip |
| Bodice “spills” at bust | Cup too small/shallow | Increase cup, add supportive cups/boning; raise neckline slightly | Try a surplice or V-neck to distribute fullness |
| Waistline rides up | Bodice too short or too tight | Add tiny waist seam; release darts/side seams | Consider custom length bodice next time |
| Tummy cling | Fabric too thin/tight at midsection | Size up; choose crepe + smooth shapewear; add ruching or peplum | Avoid high-gloss satins there |
| Sleeves dig or roll | Sleeve too narrow/armhole shallow | Add a micro-gusset or stretch panel | Try flutter/3⁄4 sleeves for comfort |
| Hem catches | Too long or too full for terrain | Hem to “kiss” floor; add mini-sweep or slit | Use heel protectors on grass |
| Neckline gapes | Too wide/low or cups too large | Adjust neckline; add discreet snaps/tape | Test arms-up & hug without pulling |
Color & Pattern Tips (Flatter + Coordinate)
- Ivory/Champagne: Warm, elegant, and flattering—ask the bride first if she’s wearing white.
- Jewel Tones: Emerald, sapphire, amethyst flatter deeper skin tones and read beautifully in photos.
- Soft Neutrals: Dove, taupe, pewter, blush—great for garden and evening weddings.
- Patterns: Florals or jacquards add texture and break up a solid field—especially pretty outdoors.
- Match the Palette, Not the Bride: Coordinate with bridesmaids’ tones; avoid matching the bridal gown’s exact white.
Venue & Season: Fit that Works in Real Life
Outdoor or indoor, comfort is part of fit. Let the setting guide details.
- Garden/Lawn: A-line or midi length; block heels or wedges; crepe/chiffon; no long trains; add a shawl for shade.
- Beach: Georgette/chiffon, sweep or no train, ankle-grazing hemlines; secure shawls and hairpins against wind.
- Vineyard/Gravel: Mid-weight crepe/mikado; mini-sweep hem; nonslip shoe pads; structured bodice for climbing hills.
- Ballroom/Evening: Crepe, satin-back crepe, mikado; structure + polish; sleeves or capelet for formality.
- Mountain/Fall/Winter: Sleeves or capelet; mid-weight crepe/mikado for warmth; closed-toe pumps; discreet hand warmers.
Shoes, Hems & Movement (Your Day-Long Comfort Plan)
- Select shoes first (8–10 weeks out). Your hem length depends on this height.
- Pick stability: block heels, wedges, or stylish flats; add heel protectors for lawns and nonslip pads for marble/tiles.
- Hem test: In final shoes, walk, turn, and try steps. The hem should “kiss” the floor without catching.
- Slit strategy: A small slit (side or back) can dramatically improve stride on grass and stairs—ask your tailor.
Accessories that Improve Fit (Not Just Style)
Accessories should support your fit and movement.
- Belts & Sashes: define waist on A-line/sheath; choose widths proportional to your torso.
- Capes & Jackets: add coverage and balance while maintaining arm mobility.
- Underlayers: wear your event shapewear and bra to every fitting. Hem and neckline depend on them.
- Jewelry scale: balance with neckline—statement earrings + no big necklace for off-shoulder or ornate bodices.
Fabric & Feature Matrix (Build Your Ideal Fit)
| Priority | Choose | Why | Avoid |
| Sculpt + Smooth | Stretch crepe, satin-back crepe; boned bodice | Support + comfort; clean lines | Thin jersey; clingy satin at midsection |
| Airflow | Chiffon, georgette, airy sleeves | Keeps cool; floats over curves | Heavy layers; stiff taffeta in heat |
| Formality + Structure | Mikado, crepe with seaming | Holds shape; elevates silhouette | Excessive beading that stiffens bodice |
| Mobility | Slit, tea-length, sweep only | Easier walking & dancing | Long trains; too many layers |
| Arm Confidence | Flutter/¾ sleeves, jacket, capelet | Coverage + movement | Tight cap sleeves, high armholes |
Timeline & Fittings for a Seamless Day (Print This)
| When | Action | Why It Matters |
| 10–12 months out | Align with bride’s vision; set budget; shortlist silhouettes & fabrics | Ensures time for orders & fittings |
| 8–10 months out | Professional measurements; order dress (size to largest area) | Allows for production/ship windows |
| 6–10 weeks out | Fitting #1 with final shoes & shapewear; set hem & base fit | Establishes structure/comfort early |
| 3–5 weeks out | Fitting #2; refine waist/hips/sleeves; test movement | Prevents last-minute surprises |
| 1–2 weeks out | Final check; steaming/transport plan | Day-of ease & polish |
Travel & Outdoor Logistics (Fit Still Matters on the Road)
- Pack smart: Keep the dress in a breathable garment bag; avoid overstuffing.
- Steam in sections: bodice → skirt; protect delicate lace with a press cloth.
- Outdoor fix kit: heel protectors, fashion tape, safety pins, lint roller, mini water spray, blot cloth.
- Assign a “bustle buddy”: someone who knows how to fasten/undo your sweep or mini-bustle for photos and dancing.
Try-On & Comfort Checklist
- Mobility: Can you sit, breathe deeply, hug, and raise arms freely?
- Neckline/security: No gaping or digging at the bust/underarm; cups feel secure.
- Hem: In event shoes, the hem just kisses the floor; no tripping.
- Sleeves: No pinching; add micro-gusset or slightly widen if needed.
- Waist & hips: Smooth fit; consider minor nips after Fitting #1.
- Shapewear: Comfortable for hours; no rolling or cutting in.
- Comfort test: Wear the full look for 15–20 minutes—walk, sit, reach, hug, stairs.
- Photo check: Take front/side/back videos in daylight and warm indoor light—does the dress sit smoothly?
- Final buffer: Ensure at least 2–3 weeks after last fitting for steaming/any tweaks.
Do / Don’t (Confidence Comes from Comfort)
Do
- Do prioritize comfort—you’ll be on your feet greeting, mingling, and celebrating.
- Do embrace structure (boning, seaming, quality fabric) for support.
- Do choose sleeves or a topper if it boosts confidence—coverage is elegant.
- Do coordinate with the couple and the other parent early (colors, formality).
- Do bring shoes & shapewear to every fitting.
Don’t
- Don’t size down “aspirationally”—tailor down, don’t squeeze.
- Don’t remove security tags or start alterations until you’re sure (return policies vary).
- Don’t select ultra-tight mermaids without time for multiple fittings.
- Don’t over-accessorize—one focal point (earrings, cuff, or capelet) is enough.
- Don’t leave hems too long—train-free keeps you confident on grass and stairs.
Sample Outfit Formulas (Copy & Personalize)
1) Garden Afternoon—Breathable Romance
- Dress: Chiffon A-line with lace bodice, V-neck, flutter sleeve.
- Fit perks: Waist definition; fabric glides over hips; easy stride.
- Add: Pearl drops + chiffon shawl + block-heel sandals with heel protectors.
- Hem: Floor-length, no train; “kiss” the grass.
2) Vineyard Sunset—Sculpted & Sleek
- Dress: Satin-back crepe fit-and-flare, square neck, cap or ¾ sleeve.
- Fit perks: Sculpted waist; gentle flare balances hips; matte polish.
- Add: Metallic shawl + structured clutch + nonslip pump.
- Hem: Mini-sweep for polish; test on gravel.
3) Beach Ceremony—Effortless & Secure
- Dress: Georgette sheath or relaxed A-line, surplice V-neck, short flutter sleeve.
- Fit perks: Airy and forgiving; comfortable all day.
- Add: Lightweight wrap; low wedge or dressy flat; simple studs.
- Hem: Ankle-grazing or sweep, no long train.
4) Mountain Evening—Warm & Polished
- Dress: Mikado A-line with fitted long sleeves and defined waist.
- Fit perks: Structure + warmth; waist emphasis; confident coverage.
- Add: Velvet clutch; discreet hand warmers; closed-toe pumps.
- Hem: Floor-length, controlled sweep; easy to bustle.
5) City Chic—Modern & Comfortable
- Look: Crepe column midi + cropped jacket; square or bateau neck.
- Fit perks: Clean, elongating lines; stretch comfort.
- Add: Sculptural cuff; sleek pumps with grip; no train.
- Hem: Mid-calf or ankle; effortless on stairs.
Frequently Asked Questions
Are A-line dresses always the best for plus size?
A-line is the most universally flattering, but not the only option. If you love structure, try a fit-and-flare or soft trumpet with a supportive bodice. The right fabric and tailoring matter as much as silhouette.
What if I’m plus-size and petite?
Choose midi or tea-length A-line or shorter sheaths; avoid overwhelming volume. Ask your tailor to adjust the waist-to-hip and hollow-to-hem for proportion.
I’m self-conscious about my upper arms—do I have to wear sleeves?
Not at all. Flutter sleeves, capelets, or a chic bolero provide coverage without heat; for sleeveless looks, consider a supportive wrap for the ceremony and photographs.
I carry weight in my midsection—what features help?
Look for structured empire waists, gentle ruching, A-line skirts, and smoothing shapewear. Avoid tight, shiny midsections; consider a gathered overlay or peplum for softness.
Can I wear a mermaid as a plus-size mom?
Yes—if you love it and are comfortable. Opt for a subtle trumpet/mermaid, prioritize boning + strong lining, and schedule two fittings to perfect the waist/hip/knee balance for movement.
How far in advance should I order and fit my dress?
Plan 8–10 months ahead for ordering and two fittings (6–10 weeks and 3–5 weeks pre-wedding). Finish 2–3 weeks early for steaming and calm.
Are pockets okay in MOB dresses?
Absolutely. Pockets add comfort and are nearly invisible in A-line/fuller skirts. Keep heavy items (phone/keys) in your clutch during photos.
Final Takeaway
The best fit for a plus-size mother-of-the-bride dress blends structure and softness: think A-line or fit-and-flare, defined waist, V/square/portrait necklines, and sleeves or toppers
that make you feel secure. Choose mid-weight drapey fabrics like crepe or satin-back crepe, set a train-free hem that “kisses” the floor, and invest in two fittings with your event shoes and underpinnings.
Above all, lead with your comfort and the couple’s aesthetic. When a dress supports your shape and your day, you’ll look and feel every bit the radiant, camera-ready mother of the bride—confident, elegant, and entirely yourself from first look to last dance.