How Long Does It Take to Customize a Wedding Dress and What Are the Costs?
Designing or customizing a wedding dress turns a beautiful gown into your gown. Timelines and costs vary because every bride, fabric, and design decision is different.
Below is a clear, comprehensive guide to help you plan. You’ll see typical schedules, what affects cost, how to brief a designer, and how to avoid last-minute stress—without quoting specific prices.
Snapshot: What “customizing a wedding dress” usually means
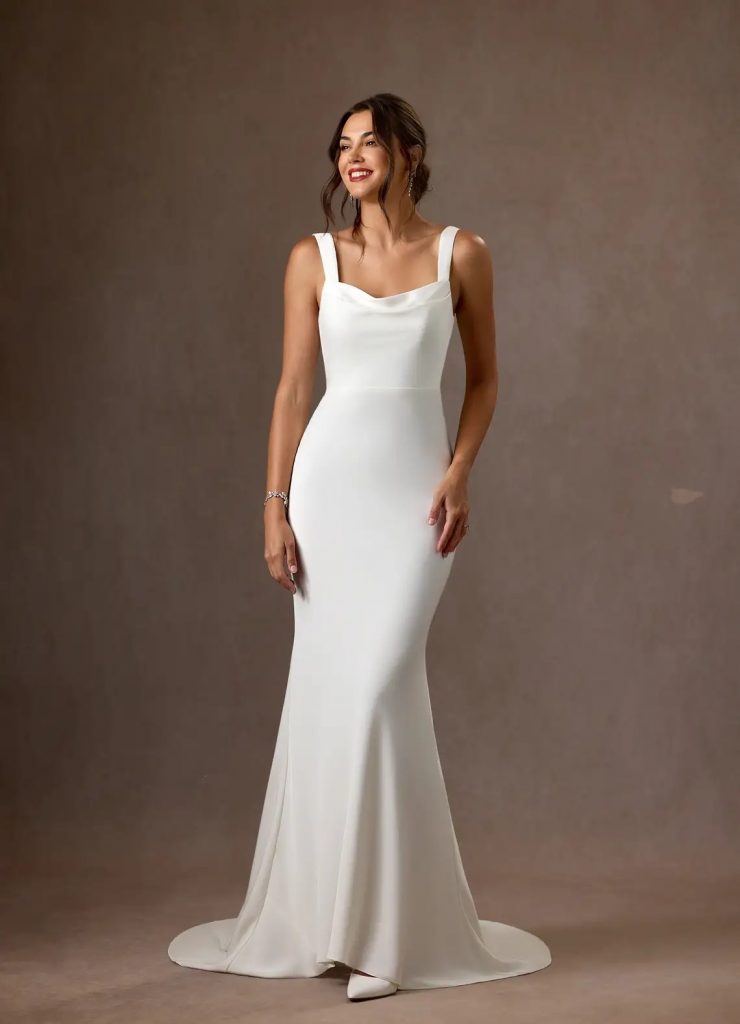
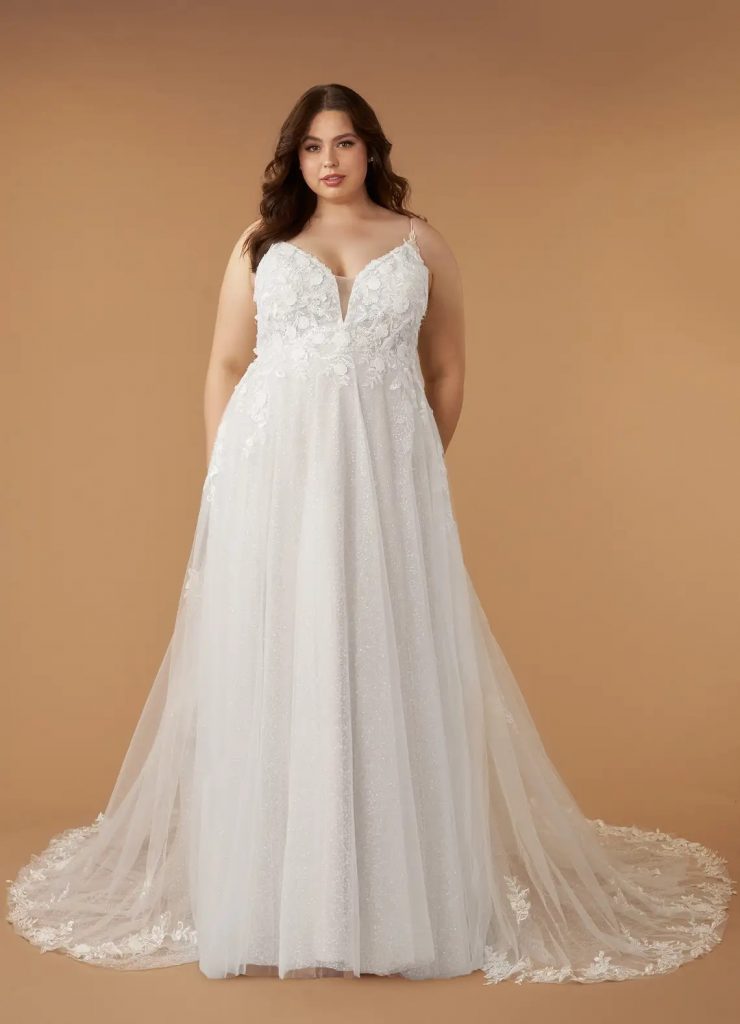
- Made-to-order with custom tweaks: You pick a base gown and personalize elements (neckline, sleeves, train, buttons, color tone).
- Custom size: Your dress is cut to your measurements for a closer initial fit.
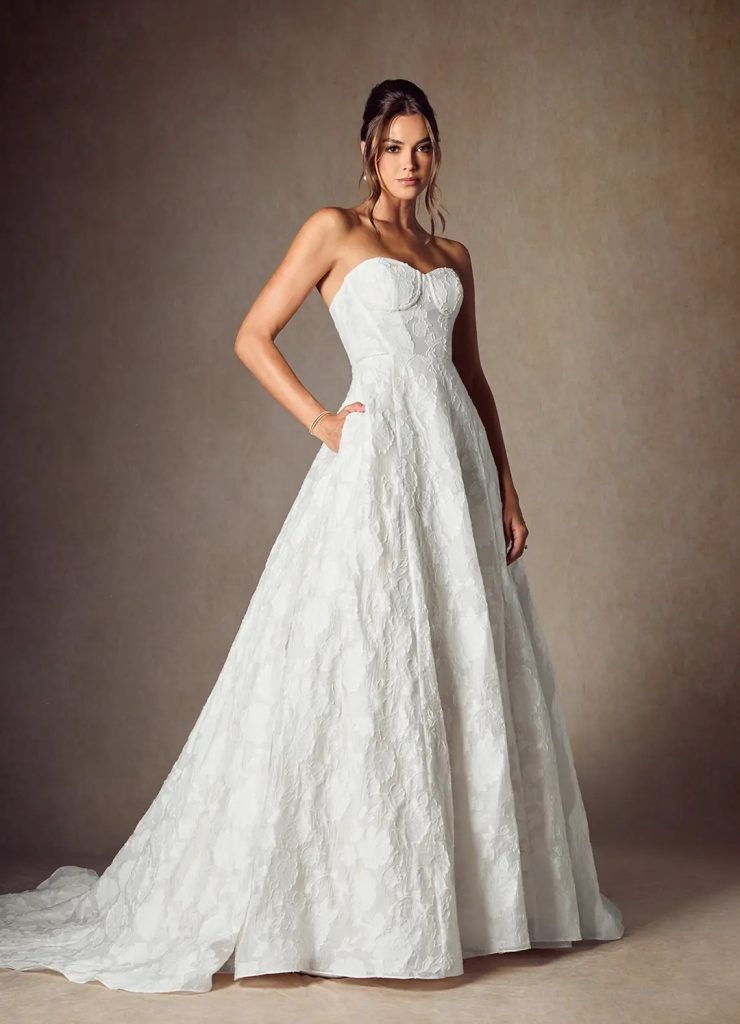
- Semi-custom: Combine a bodice from one style with the skirt of another; add beading, lace motifs, or a detachable overskirt.
- Fully bespoke: From sketch to final stitch—new pattern, new construction, and fittings at every stage.
Typical timelines at a glance
| Path | Total Lead Time | Fittings | Best For |
| Made-to-order + small custom tweaks | 8–16 weeks | 2–3 | Minor changes; steady schedule |
| Semi-custom (swap bodice/skirt, add sleeves, modesty, or train) | 12–20 weeks | 2–3 | Design personality without starting from zero |
| Fully bespoke (from sketch/pattern) | 20–32+ weeks | 3–4 | Original design, couture elements, rare fabrics |
| Rush customization | Condensed by several weeks | 2+ | Tight timelines; limited change scope |
Plan buffer: Aim to finish 2–4 weeks before the wedding for calm final checks.
Peak seasons: Spring and fall weddings increase shop workload—book earlier.
What drives customization costs (without numbers)
- Design complexity
- Corsetry, boning, basque/drop waist construction.
- Architectural elements (seams, godets, bubble hems).
- Dramatic trains, capes, detachable sleeves or overskirts.
- Handwork & embellishment
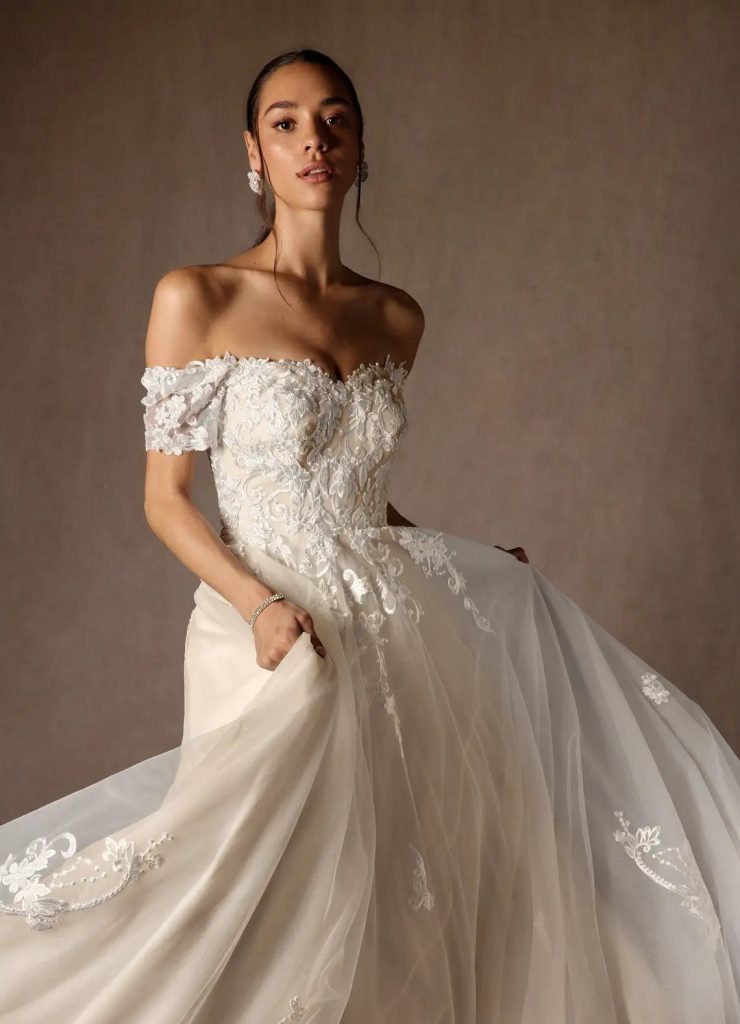
- 3D floral appliqués, beadwork, pearls, lace placement.
- Hand appliqué to match motifs at seams and hemlines.
- Fabric & materials
- Silk vs. synthetic blends, multiple underlayers, specialty lace, mikado, organza, tulle types.
- Extra yardage for overskirts, long veils, and cathedral trains.
- Pattern work & labor hours
- Drafting a new pattern, fitting a toile/muslin, re-cutting panels after a size change.
- Fittings & alteration scope
- Number of appointments, on-body adjustments, bustle engineering, sleeve set-in.
- Seasonal demand & lead time
- Peak months and rush schedules increase the workload.
The end-to-end customization process (and where the time goes)
Consultation & concept (1–3 weeks)
- Define aesthetic: silhouette, neckline, back detail, sleeves, train length.
- Discuss venue, season, and mobility needs.
- Review base dress options or sketch from scratch.
- Decide on must-have elements vs. nice-to-have details.
Measurements & foundations (0–2 weeks)
- Take bust, waist, hips, height, hollow-to-hem, and heel height.
- Confirm undergarments, bra cup style, and shapewear choices.
Fabric selection & sourcing (1–4 weeks)
- Approve swatches: main fabric, lining, lace, appliqués, trims.
- Note dye lots if color tone matters (e.g., diamond white vs. antique white).
Pattern & cutting (2–6 weeks)
- For bespoke: draft pattern and cut a toile/muslin for test fit.
- For semi-custom: adapt the base pattern for your changes.
Construction & handwork (3–10+ weeks)
- Build bodice architecture, set sleeves, assemble skirt layers.
- Place lace motifs, beading, bows, decorative buttons, or 3D florals.
- Engineer bustle points or closures (zipper, covered buttons, corset back).
Fittings & refinements (2–8 weeks total)
- First fitting: Global fit check; pin bodice, straps, waist, hips.
- Second fitting: Hem, sleeve length, bustle testing; mobility checks.
- Final fitting: Comfort, symmetry, steaming instructions; storage plan.
Finishing & pickup (1 week)
- Final pressing or steaming.
- Gown stored in breathable garment bag; try on once more at pickup.
Quick prep checklist (bring this to your first appointment)
- Inspiration: 5–8 reference photos max; too many causes indecision.
- Shoes: Final heel height or very close.
- Undergarments: Strapless bra, shapewear you plan to wear.
- Venue & season details: Surface type (grass, sand, marble), temperature range.
- Must-haves: Non-negotiable features ranked in order.
- Mobility needs: Stairs, long aisle, dancing, outdoor photos.
Customization scope vs. timeline impact
| Custom Change | Time Impact | Notes |
| Add detachable sleeves | Low–Medium | Clip-in/hidden snaps; check arm mobility |
| Change neckline (sweetheart → square/scoop) | Medium | Requires bodice rework and finishing |
| Add corset back (zipper → lace-up) | Medium–High | Pattern change; stability layers |
| Extend train or add overskirt | Medium–High | Extra yardage; bustle plan |
| Full lace appliqué placement | High | Handwork; motif matching |
| Beading/pearls on bodice/skirt | High | Hour-intensive; test weight & drape |
| New pattern from sketch | Very High | Toile fitting; multiple recuts |
Season and venue planning matrix
| Scenario | Recommended Approach | Why It Helps |
| Beach or garden | Chiffon/organza layers, lighter trains, stable bust cups | Breathable and moveable outdoors |
| Ballroom / cathedral | Satin/mikado, basque/drop waist, dramatic trains | Scale matches formal spaces |
| Mountain or winter | Sleeves, cape/bolero, thicker lining | Warmth and coverage |
| City hall / rooftop | Crepe/sheath, mini/tea-length, detachable topper | Minimalist + multi-look options |
Cost influencers explained (without quoting numbers)
- Base gown vs. from-zero build
- Starting from a finished pattern saves design time.
- From-zero demands pattern, toile, and many fittings.
- Engineering and structure
- Boning channels, corset waists, and basque/drop waists add complexity.
- The more the gown must “hold a shape,” the more labor hours you’re funding.
- Hand-applied details
- Lace across seamlines must be mirrored and matched.
- 3D appliqués or beadwork require precise placement and secure stitching.
- Detachable elements
- Sleeves, overskirts, capes, bows, and back streamers add hardware and finishing work.
- Attachments must be comfortable, durable, and photo-ready.
- Fitting count
- Each session is a block of time for pinning, stitching, steaming, and testing.
How to keep your project on time
- Decide early: Lock key design choices at the first consult.
- Limit edits: Batch changes; avoid late-stage redesigns.
- Show up prepared: Bring heels and undergarments to every fitting.
- Communicate your non-negotiables: Designers can prioritize time where it matters most.
- Protect buffer: Finish at least 2–4 weeks before the wedding.
Choosing the right customization path (decision guide)
| Your Priority | Best Path | Why |
| I want a signature detail on a classic gown | Made-to-order + small tweaks | Fastest route; reliable fit |
| I love one bodice and another skirt | Semi-custom | Personality without full couture timeline |
| I have a clear original vision | Fully bespoke | Maximum creative control |
| My date is soon | Limited-scope rush | Keep tweaks simple; focus on fit and comfort |
Fittings: what happens and when
- First fitting (global fit):
- Check bodice support, strap placement, and waist seam.
- Pin hem with wedding shoes; test sitting and stairs.
- Second fitting (refine):
- Confirm symmetrical seams; set sleeve length.
- Test bustle points and fastenings; practice with a friend.
- Final fitting (comfort check):
- Move, dance, and take a short walk.
- Review steaming, transport, and storage plans.
Pro tip: Record a short video of your bustle process.
During photos, a friend can replicate the exact steps quickly.
Fabric notes for customization
- Satin/Mikado: Sculptural, holds bows and basque waists well; great for formal venues.
- Crepe: Minimalist, comfortable, and sleek; ideal for modern columns or fit-and-flare.
- Tulle/Organza: Light volume for overskirts and airy sleeves; accepts 3D florals beautifully.
- Lace (corded/beaded): Texture and romance; placement must align across seams.
- Chiffon/Georgette: Breezy and soft; perfect for outdoor movement, layered sleeves, and flow.
Modular pieces that add drama without derailing timelines
- Detachable sleeves: Puffs, bishops, or fitted lace that snap on/off.
- Overskirts: Ceremony grandeur with a fitted reception look beneath.
- Capes/Boleros: Coverage, seasonal warmth, and instant silhouette change.
- Back bows & streamers: Photogenic detail that’s removable or re-tied.
Why modular wins: One base gown, multiple looks, controlled complexity.
Sample planning timelines you can copy
A) Made-to-order + custom sleeves (12-week plan)
- Week 1–2: Consult, measurements, sleeve sketch approval.
- Week 3–6: Pattern adaptation, sleeve prototypes.
- Week 7: First fitting (bodice/strap/sleeve pinning).
- Week 9: Second fitting (hem, bustle, sleeve mobility).
- Week 11: Final fitting; steaming scheduled.
- Week 12: Pickup; store in breathable bag.
B) Semi-custom bodice swap + overskirt (16-week plan)
- Week 1–3: Design selection, bodice/skirt pairing, fabric confirmations.
- Week 4–7: Pattern adaptation; overskirt cut; closures planned.
- Week 8: First fitting (waist seam, darts, overskirt drape).
- Week 11: Second fitting (hem, bustle hardware test).
- Week 15: Final fitting; comfort and mobility check.
- Week 16: Pickup and storage.
C) Bespoke from sketch (28-week plan)
- Week 1–4: Design sketching, swatches, measurement set.
- Week 5–9: Toile/muslin build; first fit; pattern revisions.
- Week 10–18: Fabric cutting; bodice architecture; preliminary embellishment.
- Week 19: Second fitting; adjust posture lines, sleeves.
- Week 23: Third fitting; hem and bustle check; finalize handwork map.
- Week 27: Final fitting and steaming.
- Week 28: Pickup with garment bag and instructions.
Risk control: how to avoid last-minute stress
- Lock the shoe height early. Hem calculations depend on it.
- Keep weight stable during the final 6–8 weeks.
- Batch approvals: Fabric, sleeve shape, and train length at once.
- Document decisions: Photos + notes shared with your seamstress after each fitting.
- Build a buffer: Target completion a few weeks ahead of your date.
Care, transport, and day-of logistics
- Storage: Breathable garment bag, away from sunlight and moisture.
- Transport: Lay across back seat or hang high; avoid sharp folds.
- Day-of: Light steaming; assign a friend to bustle duty; carry a mini sewing kit and fashion tape.
One-page reference table (save this)
| Step | What You Do | What the Designer Does | Time Window |
| Consult | Share vision, venue, must-haves | Sketch options, scope changes | 1–3 weeks |
| Measurements | Wear correct undergarments | Record full measurement set | 0–2 weeks |
| Fabrics | Approve swatches | Order fabric, trims, lining | 1–4 weeks |
| Pattern | Approve silhouette decisions | Draft/adapt pattern; cut toile | 2–6 weeks |
| Build | Attend fitting #1 | Construct bodice/skirt; place motifs | 3–10+ weeks |
| Fit & refine | Fitting #2 and #3 | Adjust seams, hem, sleeves, bustle | 2–8 weeks |
| Finish | Final try-on | Steam/press; pack for pickup | 1 week |
Final takeaways
- Your timeline depends on scope: lighter tweaks can be ready in 8–16 weeks, semi-custom in 12–20 weeks, and fully bespoke in 20–32+ weeks.
- Your costs are driven by time and craft—patterning, structure, hand-sewn details, detachable elements, and fitting rounds.
- Your best plan is to decide early, keep changes focused, bring the exact shoes and undergarments, and finish with a 2–4 week buffer before the big day.
Frequently Asked Questions
How early should I start customizing my wedding dress?
Begin consultations 6–9 months out if you want semi-custom or bespoke work. For lighter tweaks to a made-to-order gown, 3–4 months can be enough if schedules allow.
How many fittings will I need?
Expect 2–3 fittings for semi-custom and 3–4 for fully bespoke. Complex sleeves, corsetry, or intricate lace may add one more visit.
Can I customize a dress if my wedding is soon?
Yes, but keep the scope tight and focus on impact details like detachable sleeves or a back bow. Avoid heavy handwork or major pattern changes on a rush timeline.
What affects the cost the most?
Labor hours (patterning, handwork, multiple fittings) and materials (specialty lace, extra yardage, structural layers). Complexity increases the time and attention required.
Will I still need alterations if I order custom size?
Usually yes. Custom size gets you closer on day one, but on-body fine-tuning ensures the dress moves and photographs perfectly.
Are detachable elements worth it?
If you want two looks without two dresses, detachable sleeves, capes, or overskirts are high-impact and practical. They also simplify timelines compared to redesigning the entire silhouette.
What should I bring to every fitting?
Shoes, undergarments, and any toppers you’ll wear. They change hem length, neckline balance, and support.