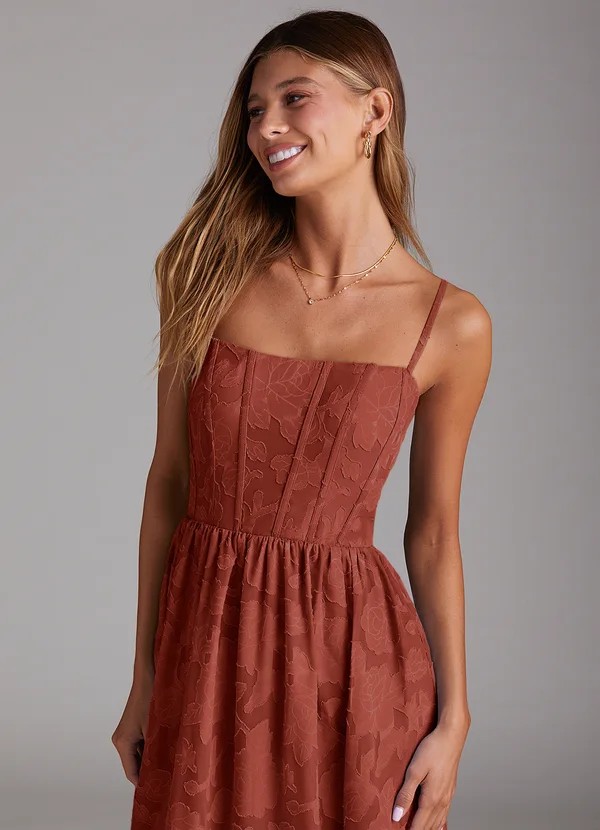
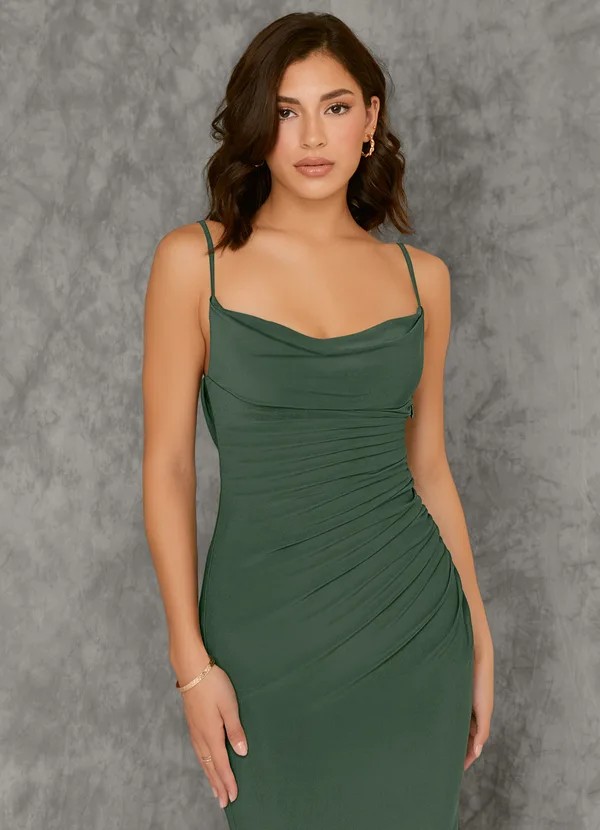
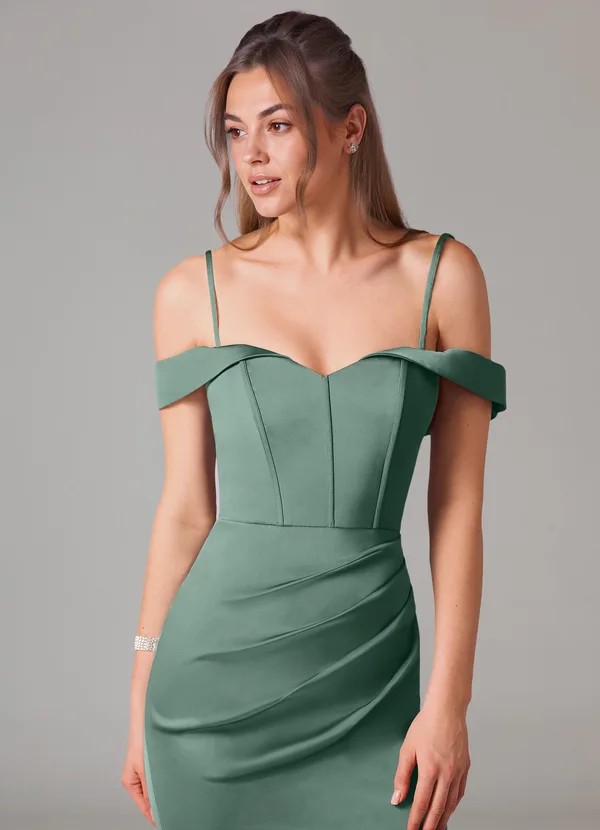
How Do I Measure for a Bridesmaid Dress?

Accurate measurements are the foundation of a perfect-fitting bridesmaid dress.
Even a stunning design won’t look its best if the fit is off by just a few inches. Whether you’re ordering a custom size or selecting a standard size, learning how to measure correctly ensures comfort, confidence, and fewer alteration surprises.
To measure for a bridesmaid dress, use a flexible measuring tape and take measurements over your undergarments. You’ll need bust, waist, hips, and hollow-to-floor (for full-length gowns). Stand straight but relaxed, and ask someone to help for accuracy.
Compare your results with the retailer’s size chart before ordering. Never guess your size or rely on street clothing sizes—formalwear sizing runs differently. Accurate measurements save time and minimize alterations later.
Quick Measurement Reference
| Area to Measure | Where to Measure | Tips for Accuracy | Used For |
| Bust | Around the fullest part of chest | Keep tape level and relaxed | Bodice, neckline fit |
| Waist | Natural waistline (above belly button) | Don’t suck in; breathe normally | Dress shape, waist seam |
| Hips | Around the fullest part of hips and seat | Stand with feet together | Skirt width, drape |
| Hollow-to-Floor | From collarbone hollow to floor | Wear wedding shoes (if known) | Full-length gown length |
| Height | Head to floor, barefoot | Add shoe height later | Proportion balancing |
| Shoulder-to-Bust / Waist | Top of shoulder to bust/waistline | Helpful for custom sizing | Strap and torso alignment |
| Armhole / Bicep / Sleeve Length | For sleeved dresses | Measure comfortably, not tight | Movement and comfort |
Before You Begin: Tools and Setup
Before taking measurements, prepare the right tools and environment for precision.
You’ll need:
- A flexible, non-stretch fabric measuring tape.
- A mirror or helper (recommended).
- A pen and paper or phone to record each result.
- A well-lit room with even flooring.
- The undergarments and shoes you plan to wear on the wedding day (or similar ones).
Pro Tips
- Stand naturally—no slouching or holding your breath.
- Keep the measuring tape parallel to the floor for every measurement.
- Measure twice for confirmation and record to the nearest quarter inch or half centimeter.
Step-by-Step: How to Measure for a Bridesmaid Dress
Step 1: Measure the Bust
The bust is one of the most important points for bridesmaid dresses. A mismeasurement here can make the dress feel too tight or too loose.
How to Measure:
- Stand upright with arms relaxed at your sides.
- Wrap the measuring tape around the fullest part of your bust, ensuring it’s straight across your back.
- The tape should feel snug but not tight—you should be able to breathe comfortably.
- Record the number in inches or centimeters.
Tip: Wear a well-fitting bra similar to what you’ll use on the wedding day. Padded or push-up bras can alter measurements by an inch or more.
Step 2: Measure the Waist
The natural waistline is usually located just above your belly button and below your ribcage.
How to Measure:
- Bend slightly to one side—where your body creases is your natural waist.
- Wrap the tape around this spot, keeping it parallel to the floor.
- Don’t hold your breath or tighten the tape.
- Record your natural waist size.
Why it matters: Bridesmaid dress waistlines are often the narrowest part of the silhouette. Accurate waist measurement ensures your dress accentuates your shape comfortably.
Step 3: Measure the Hips
Hips help define the fit of the skirt and overall silhouette.
How to Measure:
- Stand with your feet together.
- Measure around the fullest part of your hips and seat—this is usually 7–9 inches below your natural waist.
- Keep the tape level across your back.
- Record the largest number found while adjusting the tape slightly up and down to find the fullest point.
Tip: Avoid measuring over thick clothing or jeans; this can add unnecessary width.
Step 4: Measure Hollow to Floor
This measurement determines the total dress length for full-length gowns.
How to Measure:
- Stand straight with bare feet or the shoes you’ll wear on the wedding day.
- Place the measuring tape at the hollow (the small dip between your collarbones).
- Extend it straight down to the floor, passing over your bust naturally.
- Note if your retailer requests hollow-to-hem instead.
Tip: If your shoes add height, note the heel measurement separately so the dress can be tailored to the correct final length.
Step 5: Measure Overall Height
Your height helps verify the proportion of bodice and skirt length.
How to Measure:
- Stand barefoot with your back against a wall.
- Measure from the top of your head to the floor.
- Ask a friend for help for accuracy.
Why it matters:
Combined with your hollow-to-floor measurement, this helps the tailor understand your torso-to-leg ratio for an even hemline.
Step 6: Additional Measurements for Sleeved or Fitted Styles
If your bridesmaid dress has sleeves, straps, or a fitted bodice, a few extra measurements ensure comfort.
Additional Areas to Measure:
- Shoulder to Bust: From the top of your shoulder down to the fullest point of your bust.
- Shoulder to Waist: From top of shoulder down to your natural waist.
- Armhole Circumference: Around the shoulder joint, slightly under the armpit.
- Bicep Width: Around the fullest part of your upper arm.
- Sleeve Length: From shoulder to wrist (for long sleeves) or to elbow (for short).
Tip: These numbers help prevent tightness when raising arms or dancing during the reception.
Measurement Example
| Measurement Type | Example (inches) | Example (cm) | Used For |
| Bust | 35.5″ | 90 cm | Top fit, neckline |
| Waist | 28.0″ | 71 cm | Silhouette definition |
| Hips | 38.5″ | 98 cm | Skirt width |
| Hollow-to-Floor | 58.0″ | 147 cm | Dress length |
| Height | 65.0″ | 165 cm | Overall proportion |
| Bicep | 11.0″ | 28 cm | Sleeve comfort |
Measuring Tips for the Perfect Fit
- Don’t self-measure if possible. Ask a friend or family member for help to ensure accuracy.
- Double-check all results. Write them down immediately.
- Follow the brand’s size chart. Each designer has different standards—don’t rely on clothing sizes.
- Round up slightly. If between two numbers, round up to ensure the dress can be altered smaller if needed.
- Re-measure if your body changes. For bridesmaids who are pregnant or postpartum, recheck measurements a few weeks before final fitting.
- Stand naturally. Avoid flexing or tightening muscles.
- Keep shoulders relaxed. Formal dresses fit best when posture reflects natural stance.
Common Measuring Mistakes to Avoid
Mistake 1: Measuring over bulky clothing
Always measure over thin garments or undergarments to avoid adding extra width.
Mistake 2: Pulling the tape too tight
Tight tape = tight dress. Keep it comfortably snug, not stretched.
Mistake 3: Using a metal tape measure
Metal tapes don’t bend well for curved areas. Use a soft fabric or sewing tape.
Mistake 4: Estimating instead of measuring
Bridesmaid dress sizes differ from street clothing sizes. Never guess!
Mistake 5: Forgetting heel height
For floor-length gowns, heel height changes total length. Always note it.
When to Take Your Measurements
Timing is key to ensure your dress fits correctly.
- 6–7 months before the wedding: Take initial measurements before ordering.
- 3 months before the wedding: Double-check if body shape may change (due to fitness, pregnancy, or health changes).
- Final fitting (2–3 weeks before): Confirm alterations after dress arrives.
Tip: Keep a record of all measurements and dates for reference during fittings.
How to Match Measurements to the Size Chart
Once you’ve recorded all your measurements:
- Visit the retailer’s size guide or chart.
- Compare each measurement to find your nearest size.
- If you’re between two sizes, choose the larger one (it’s easier to take in than let out).
- Review fit notes for each style—some silhouettes are more forgiving than others.
- If proportions differ (for example, smaller bust but wider hips), consider custom sizing for balance.
Pro Tip: Each Azazie dress includes a fit recommendation chart—always check this before confirming your order.
How Custom Sizing Works
If you opt for a custom-size bridesmaid dress, your measurements are used to create a gown tailored to your body. This reduces the need for major alterations and ensures the hem and bodice align perfectly.
Benefits of Custom Sizing
- Fits your exact height and proportions.
- Reduces alteration costs.
- Ideal for bridesmaids with petite, tall, or curvy figures.
Important: Double-check all numbers before submitting. Once production begins, custom orders cannot be changed or refunded.
Measurement Tips by Body Type
| Body Type | Focus Area | Recommended Fit Advice |
| Hourglass | Waist definition | Keep waist measurement accurate to highlight curves |
| Pear Shape | Hips & waist | Allow enough fabric in hip area for comfort |
| Apple Shape | Bust & torso length | Avoid too-tight bust; focus on proportion balance |
| Rectangle | Bust & waist | Ensure measurements reflect slight curve for natural drape |
| Petite | Height & hollow-to-floor | Ensure correct length—avoid overwhelming fabric |
| Tall | Full height & sleeve length | Check hem and waist alignment for balance |
How to Measure Children or Junior Bridesmaids
When measuring younger bridesmaids:
- Keep the tape slightly looser for comfort and future growth.
- Note the age and event date—children may grow between ordering and the wedding.
- Use standard youth size charts as a guide, but rely on actual measurements.
Tip: Reconfirm measurements 6–8 weeks before the event to account for growth spurts.
Preparing for Alterations After Ordering
Even with perfect measurements, most bridesmaid dresses still need small adjustments.
Expect minor tailoring for:
- Hem length (especially with heels).
- Strap tightening or loosening.
- Waist nip for shape refinement.
- Bustline smoothing for comfort.
Schedule your alteration appointment about 4–6 weeks before the wedding to ensure enough time for adjustments.
Bridesmaid Measurement Checklist
- Use a flexible measuring tape.
- Measure bust, waist, hips, height, and hollow-to-floor.
- Wear similar undergarments to the event day.
- Record to the nearest ¼ inch or 0.5 cm.
- Ask someone for help—never guess.
- Match results to the brand’s size chart.
- Recheck before final fitting.
- Keep posture relaxed for true accuracy.
Frequently Asked Questions
Can I measure myself without help?
It’s possible, but not ideal. Self-measuring often leads to inaccurate bust and waist results. If you must, use a mirror and take each measurement twice for consistency.
How should I stand while measuring?
Stand naturally with shoulders relaxed, arms by your sides, and feet together. Don’t hold your breath or tighten your stomach.
Do I wear shoes while measuring hollow-to-floor?
Yes, if you already know which shoes you’ll wear at the wedding. Otherwise, measure barefoot and note heel height separately.
What if my measurements fall between two sizes?
Always choose the larger size. It’s easier for a tailor to take in a dress than let one out.
How do I measure if I’m pregnant or postpartum?
Measure your bust and hips normally, but leave a little extra ease in the waist. Order custom size if possible to accommodate your changing shape.
Do I need to include arm measurements for sleeveless dresses?
No, only if your dress includes sleeves or fitted straps. For sleeveless styles, bust, waist, and hips are sufficient.